How To Hide Elements on LearnDash Pages
An important part of this website is the learning management system powered by LearnDash.
With the recent site redesign with the Pluto theme, my course page will appear like this …
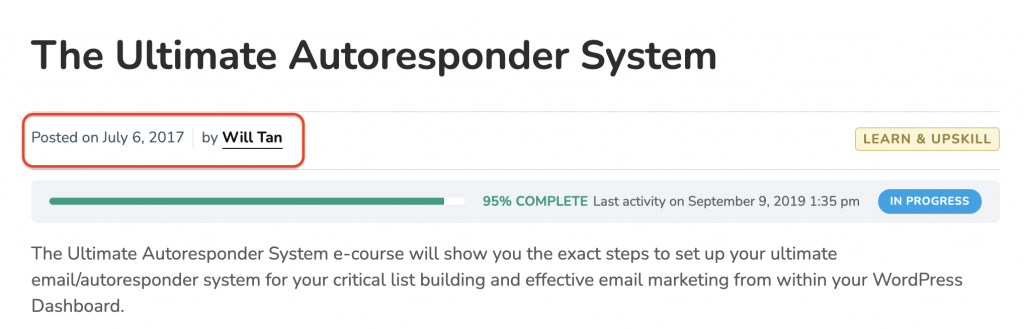
… which include the “Posted on” and “by” just under the course title.
Though this is the default page display with Pluto (in fact, with most themes), I find it awkward to display the date when the course was published, which was quite some years back when I created the course.
The main intention of this post is to journal-down and also to share how I hide these elements, particularly on LearnDash pages only.
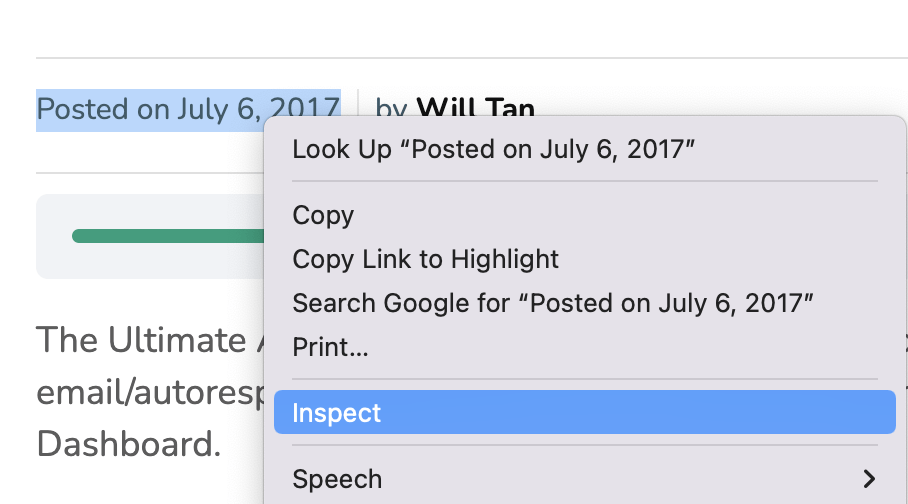
The first thing we need is the element id name which we want to hide. To do that, I’d go to the course page, select the date and right click “Inspect” (I’m using Google Chrome browser) :
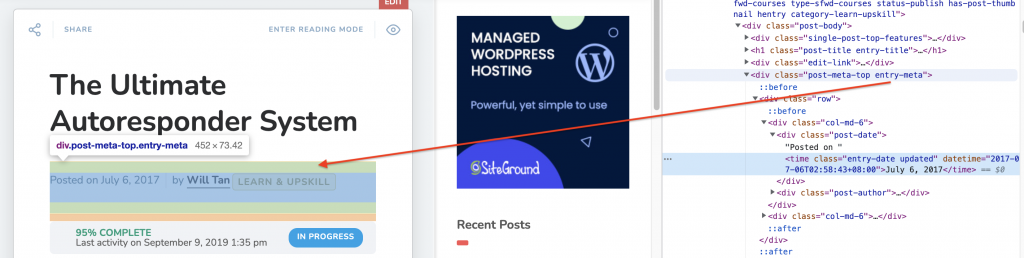
Then, I’d identified the actual element id (of the portion) which I want to hide – in this case, it’s “entry-meta”.
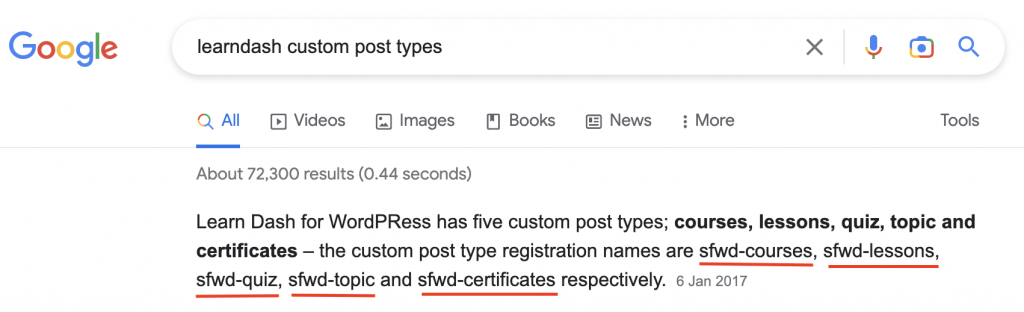
Also, a quick check on the LearnDash custom post types – namely, sfwd-courses, sfwd-lessons, sfwd-quiz, sfwd-topic and sfwd-certificates.
Then the final CSS codes in Dashboard > Appearance > Customise > Additional CSS :
.sfwd-courses .entry-meta {
	display: none;
}

.sfwd-lessons .entry-meta {
	display: none;
}

.sfwd-quiz .entry-meta {
	display: none;
}

.sfwd-topic .entry-meta {
	display: none;
}

.sfwd-certificates .entry-meta {
	display: none;
}
Hit “Publish” and that’s it! The post date and by author row is now removed from all LearnDash related pages. (It’ll still appear in my normal posts and pages though).
Now, another CSS code to hide the element is using this over “display: none;” :
visibility:hidden;This “visibility:hidden;” is useful for hiding the elements without affecting the overall formatting of the page. All nested elements will still be used. This is not the case with display: none; where all nested elements and styles are removed entirely. This method only works if you want to maintain the same design spacing but want the element to disappear.